Pwndbymustang
Jr. Member
 
Karma: +1/-0
 Offline Offline
Posts: 33
|
 |
« Reply #45 on: October 04, 2015, 11:43:06 AM »
|
|
|
The MAF will eventually be located in a different spot and yea i know its not an ideal spot. The switches are for all the lights and oil scavenge pump and such since i re-wired pretty much everything on the car besides the tail lights.
The tip was nice while it was around stock boost but it was time to go to manual because i want 11's b4 the track closes in the beginning of November and the tip i dont think would be up for the task after trying to throw 16-20 psi at it lol
Just drove it yesterday since the tranny swap and it feels good so far. I will be logging today since i got my wideband and other gauges in so i can actually give it some throttle.
|
|
|
|
|
 Logged
|
|
|
|
Pwndbymustang
Jr. Member
 
Karma: +1/-0
 Offline Offline
Posts: 33
|
 |
« Reply #46 on: October 04, 2015, 02:16:45 PM »
|
|
|
Well i took it for a drive and it felt really good for basically stock ko3 tune, only went a bit on throttle and saw about 4psi at 2900 rpm which is 1000 rpm sooner then the last setup with the tip and gt3071r.
I'm going through the logs now so i can change the boost curve and such. So im pretty excited at the moment lol
|
|
|
|
|
 Logged
|
|
|
|
mounty
Full Member
  
Karma: +1/-0
 Offline Offline
Posts: 119
|
 |
« Reply #47 on: November 11, 2015, 12:46:18 AM »
|
|
|
Oops i had missed this update. Very nice.
|
|
|
|
|
 Logged
|
|
|
|
Pwndbymustang
Jr. Member
 
Karma: +1/-0
 Offline Offline
Posts: 33
|
 |
« Reply #48 on: December 30, 2015, 08:00:44 AM »
|
|
|
|
|
|
|
|
 Logged
|
|
|
|
Pwndbymustang
Jr. Member
 
Karma: +1/-0
 Offline Offline
Posts: 33
|
 |
« Reply #49 on: February 04, 2016, 03:10:37 AM »
|
|
|
I'm working at getting all my annoying leaks dealt with(hate this stuff) and its supposed to snow a good amount soon so I hope I can get some footage of this thing frolicking in the snow  My last drive with this was super rich, about 9.9:1 afr at idle(didn't have time to change fueling in the tune) but it was still very responsive which seems odd to me but I'll take it. I will be leaning it out today, and hopefully using my 3D printed laser alignment tools to get this thing nice and straight. Last time this was at the track it was a death trap with how bad the alignment. Here's how I tested my 3D printed pieces on my Audi just to see how it worked(btw it worked really well) 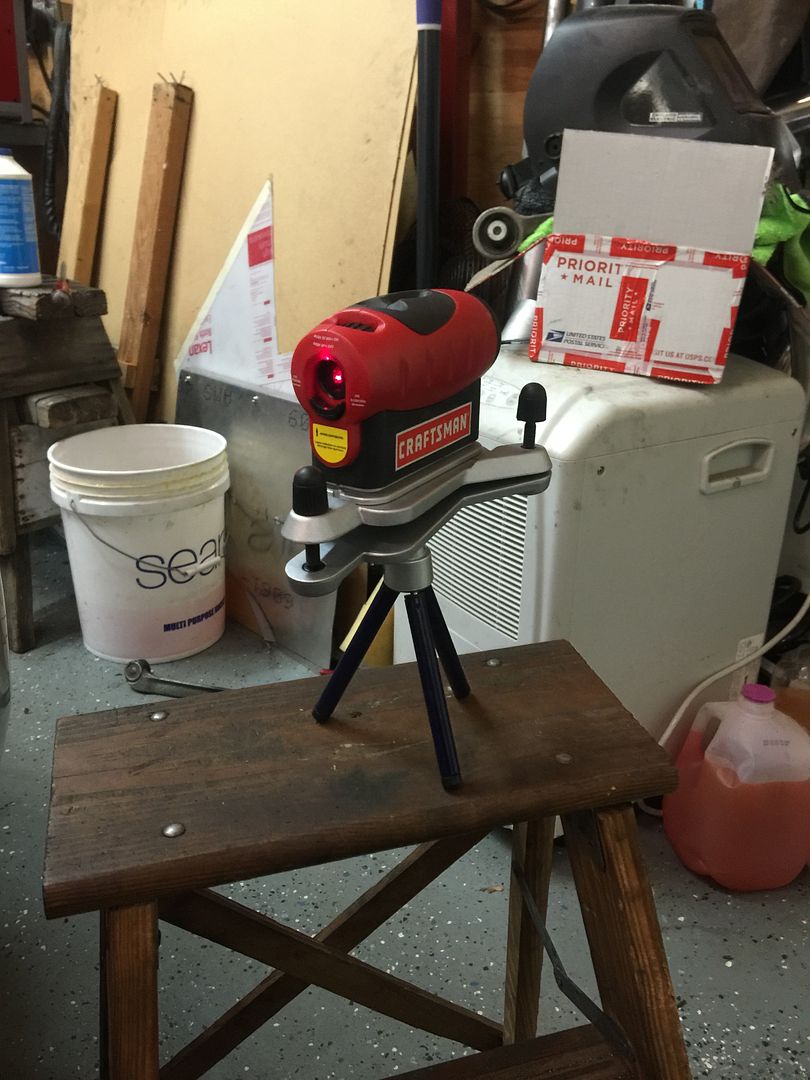 [/url] 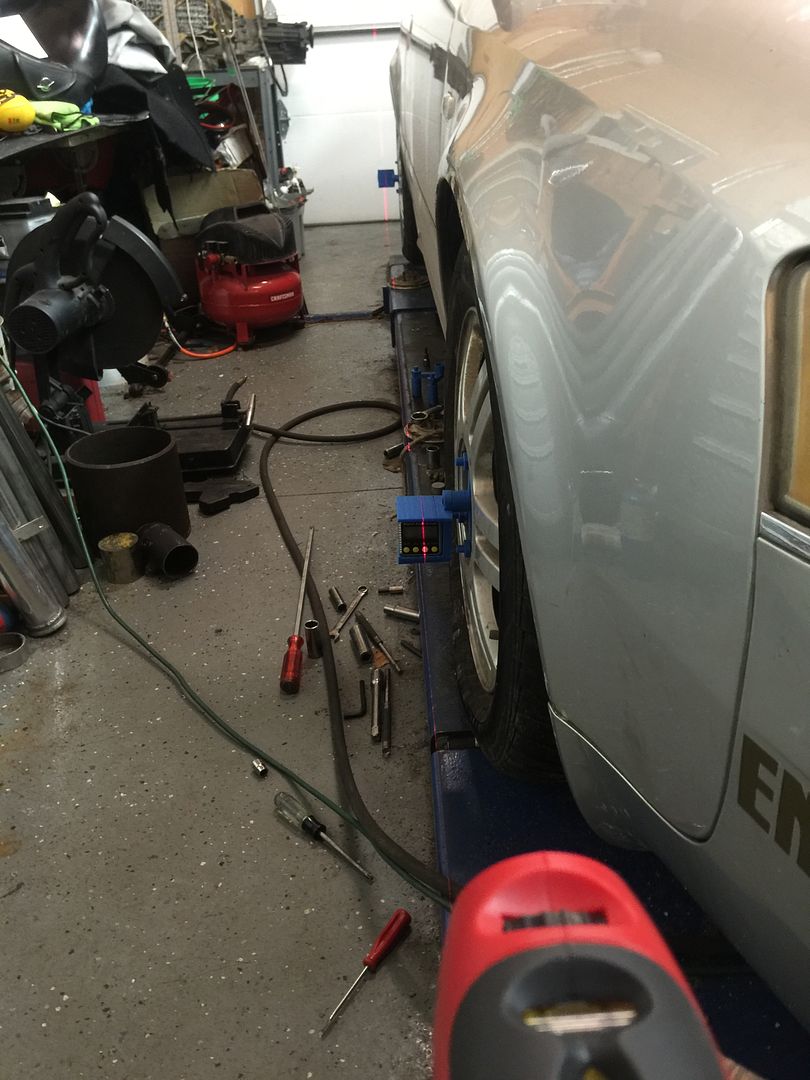 [/url] 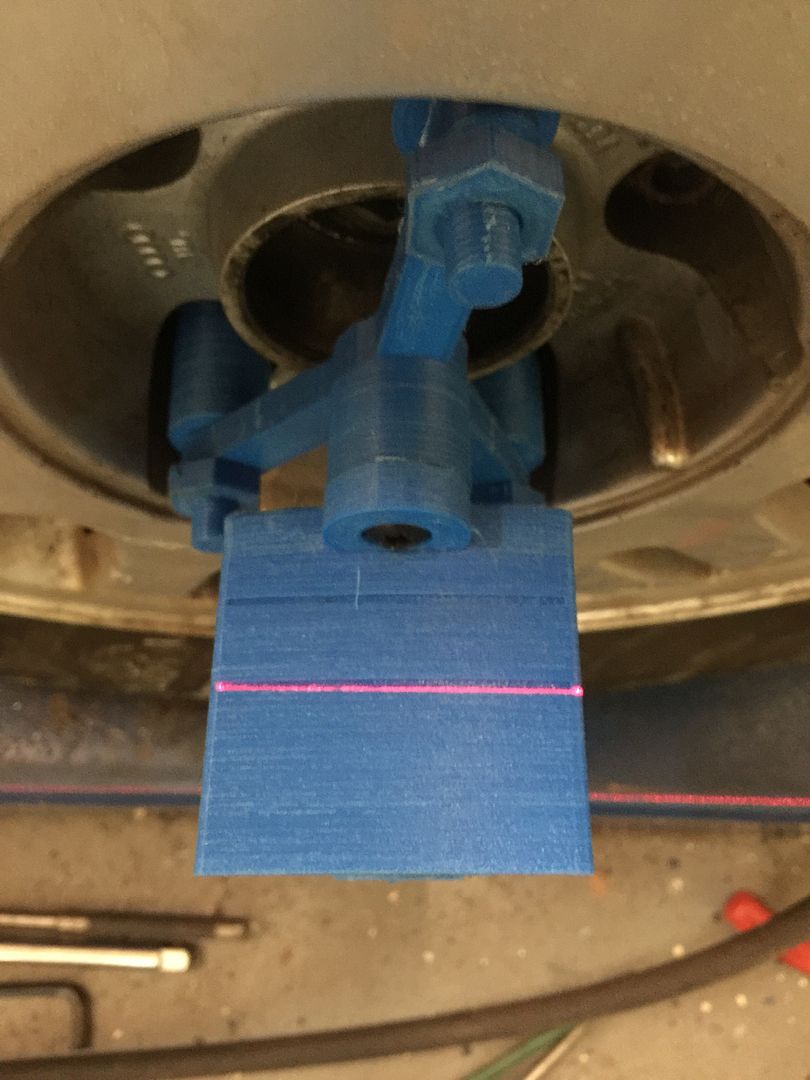 [/url] 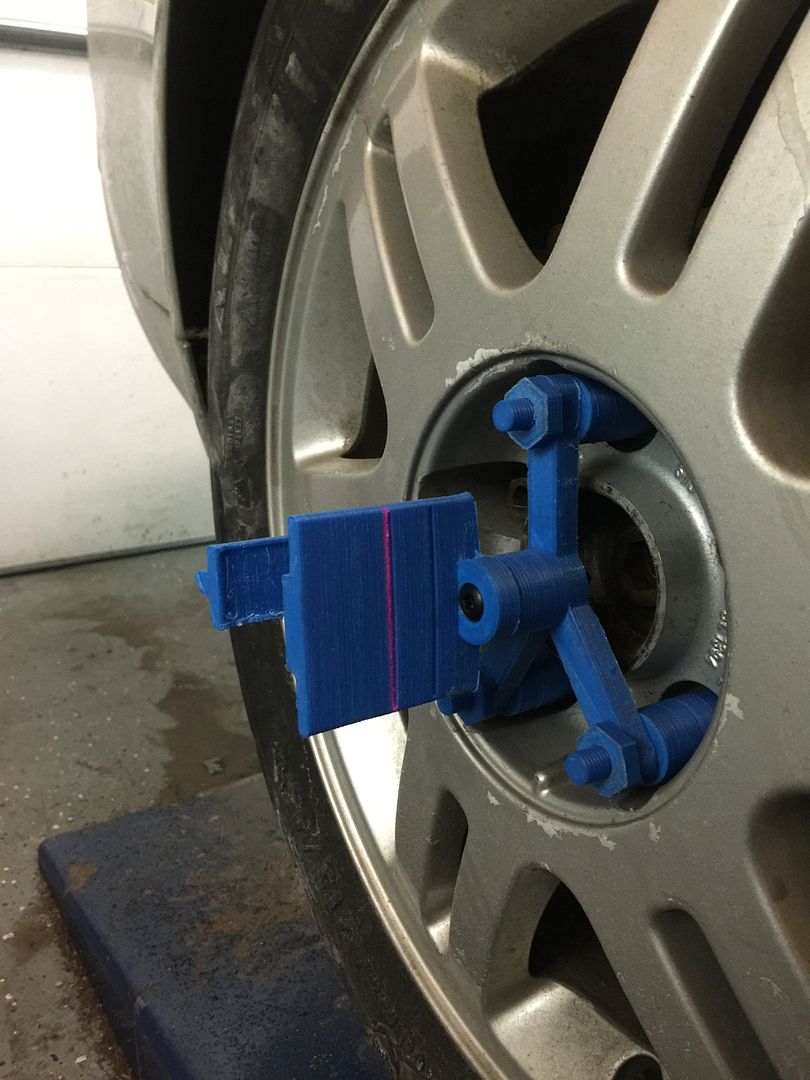 [/url]  [/url] |
|
|
|
|
 Logged
|
|
|
|
TijnCU
Hero Member
    
Karma: +61/-4
 Offline Offline
Posts: 690
flying brick
|
 |
« Reply #50 on: February 05, 2016, 05:16:43 AM »
|
|
|
Awesome idea! Do you have the cad or stl files for these parts? Looks super neat :-)
|
|
|
|
|
 Logged
|
|
|
|
Pwndbymustang
Jr. Member
 
Karma: +1/-0
 Offline Offline
Posts: 33
|
 |
« Reply #51 on: February 05, 2016, 05:33:36 AM »
|
|
|
Thanks! Yea this weekend I'll be throwing them on Thingiverse.com and I'll put a link in here when I do  |
|
|
|
|
 Logged
|
|
|
|
mounty
Full Member
  
Karma: +1/-0
 Offline Offline
Posts: 119
|
 |
« Reply #52 on: February 29, 2016, 11:48:55 PM »
|
|
|
So hows she doing ?
|
|
|
|
|
 Logged
|
|
|
|
Pwndbymustang
Jr. Member
 
Karma: +1/-0
 Offline Offline
Posts: 33
|
 |
« Reply #53 on: March 08, 2016, 06:44:16 PM »
|
|
|
Well I decided to add another variable into the mix  so 2.0 coils are in and it's running. Just gotta adjust the tune for the new dwell settings and to get the air/fuel a little closer. So I should b doing more testing soon and I also got my season pass for the track which opens in less then a month  videos will b coming as I take them! 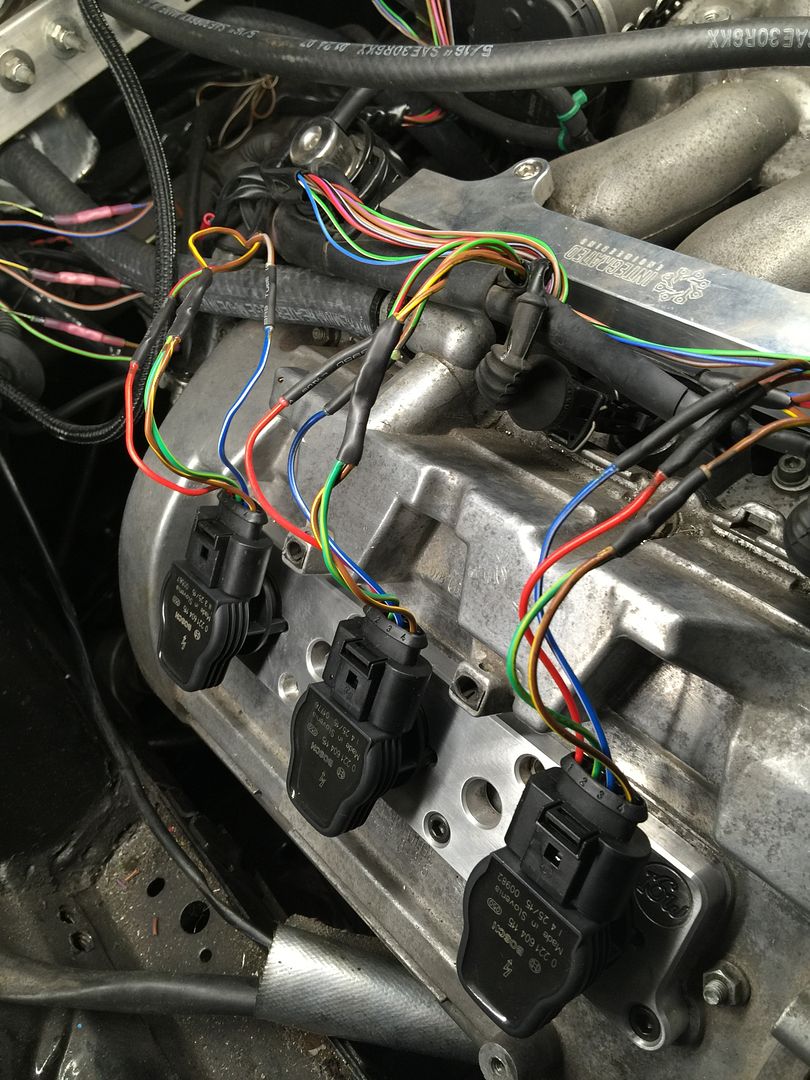 |
|
|
|
|
 Logged
|
|
|
|
Steve Bassen
Newbie

Karma: +2/-0
 Offline Offline
Posts: 19
|
 |
« Reply #54 on: March 16, 2016, 07:19:00 AM »
|
|
|
FYI, pin 4 on the late model connectors is supposed to be a chassis ground, independent of the harness ground that pin2 goes to.... Run pin 4 on all the coils for that bank to a common ring connector and ground it to one of the accessible center valve cover studs, simple enough.  |
|
|
|
|
 Logged
|
|
|
|
Pwndbymustang
Jr. Member
 
Karma: +1/-0
 Offline Offline
Posts: 33
|
 |
« Reply #55 on: March 16, 2016, 10:53:02 AM »
|
|
|
Hmmm....ill try that, can never have too many grounds lol in all the wiring diagrams I see that they both go together.
|
|
|
|
|
 Logged
|
|
|
|
|
|
Steve Bassen
Newbie

Karma: +2/-0
 Offline Offline
Posts: 19
|
 |
« Reply #57 on: March 16, 2016, 11:47:00 AM »
|
|
|
Oops, senior moment. That should have said Pin 2 to chassis, pin 4 to harness  |
|
|
|
|
 Logged
|
|
|
|
Pwndbymustang
Jr. Member
 
Karma: +1/-0
 Offline Offline
Posts: 33
|
 |
« Reply #58 on: March 16, 2016, 11:51:32 PM »
|
|
|
Ah ok makes sense, I'll try it out
|
|
|
|
|
 Logged
|
|
|
|
Chz
Newbie

Karma: +0/-0
 Offline Offline
Posts: 9
|
 |
« Reply #59 on: March 23, 2019, 09:25:10 PM »
|
|
|
Sorry for reviving this old thread but this is just wild. Great job making it go what a tremendous amount of work! Howd those 3d printed alignment plates workout? Did you ever get this finished or still a work in progress? Just too dang neat to not comment sorry for the resurrection again.
|
|
|
|
|
 Logged
|
|
|
|
|